Categories
-
Recent Posts
Archives
Tags
Blogroll
Cars
Forums
Info
Parts
Workshops
Interior – Paint
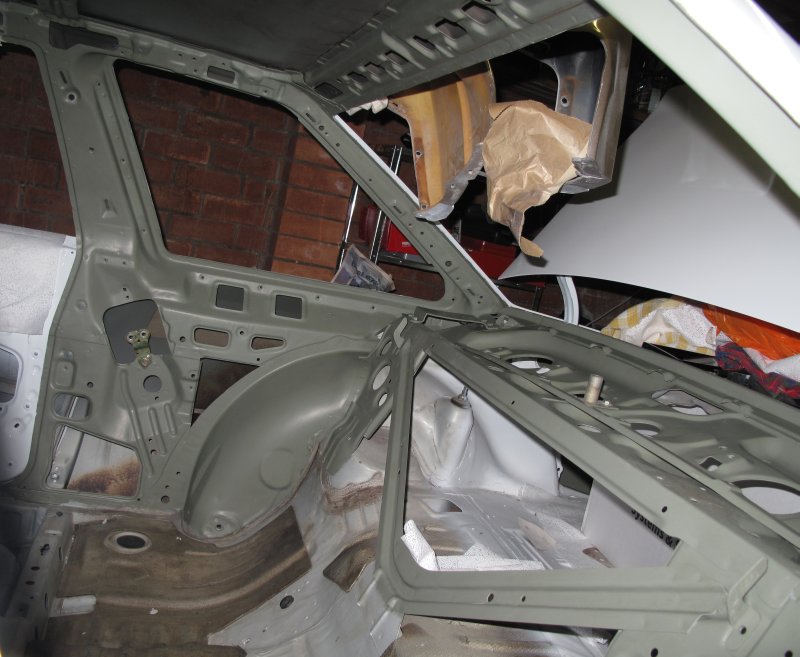
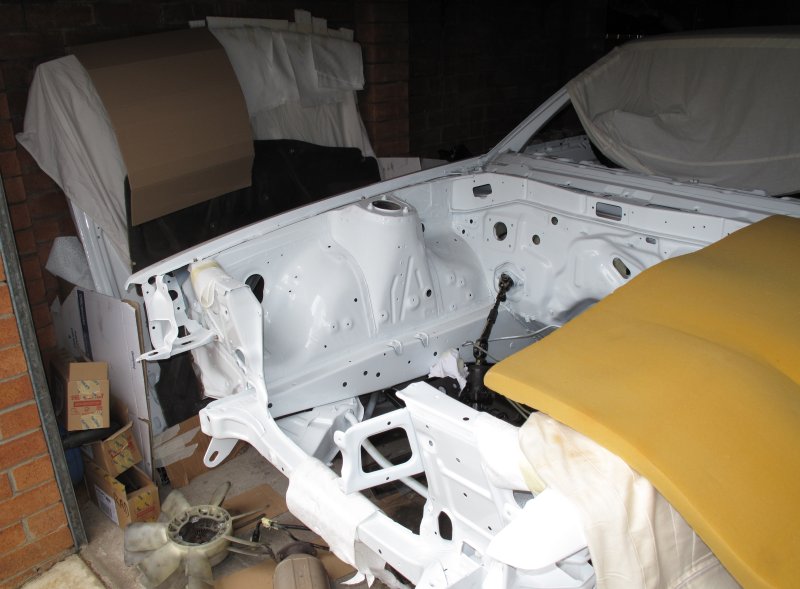
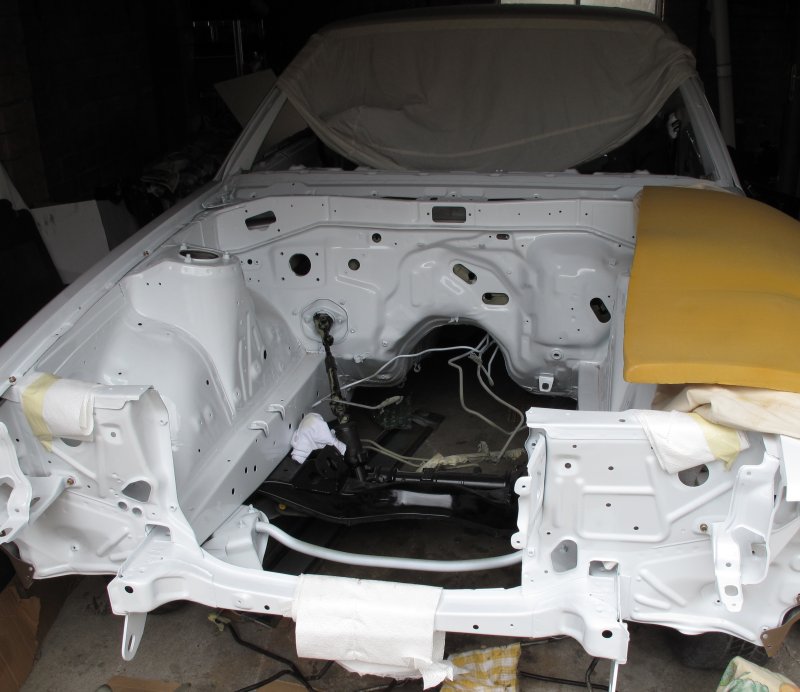
I want to absolutely minimize the chances of getting new rust, so I am painting the interior of the car with Wattyl KillRust Heavy Duty Primer and the over coating with Wattyl Kill Rust Epoxy.
Assembly – Head – Part II
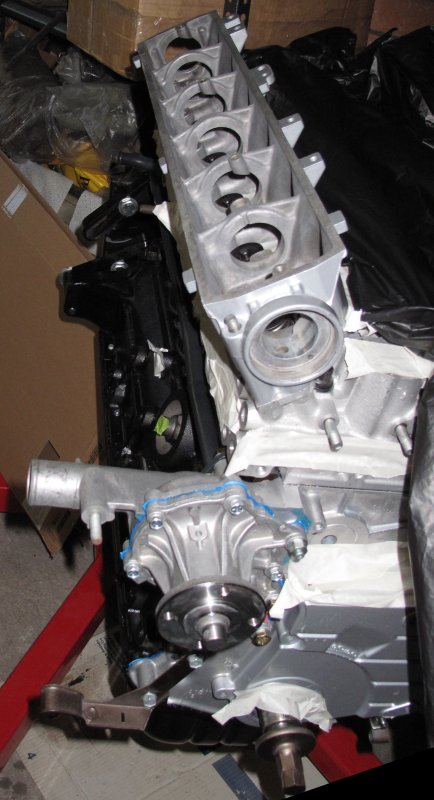
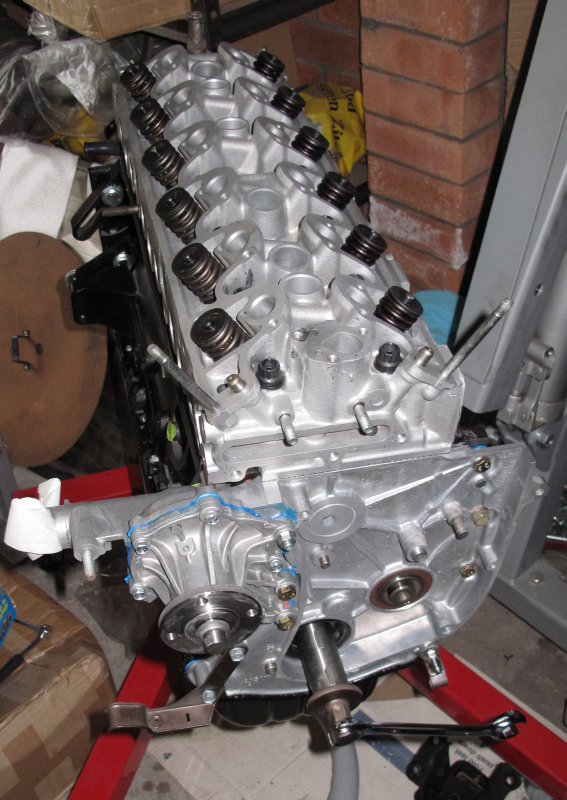
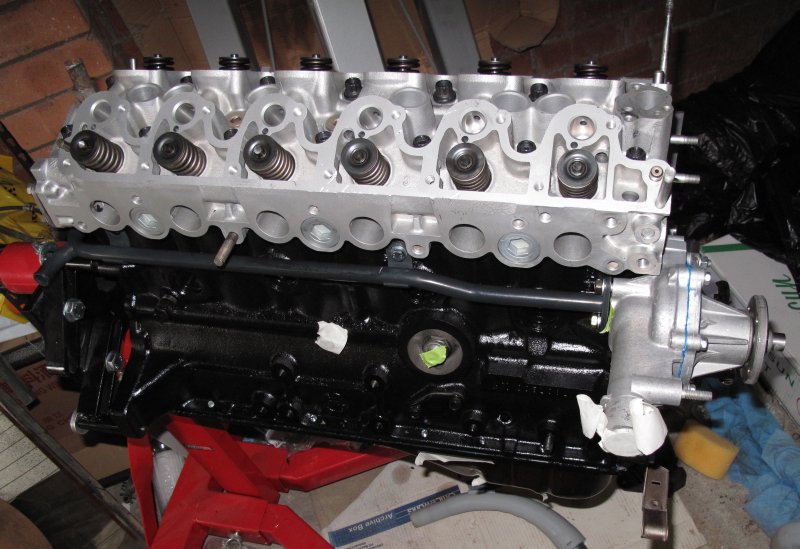
Getting ready to finish reassembling the head.
Checking the cam housing fitment.
Painted and cleaned parts in the backyard.
Rocker arms marinating in kerosene.
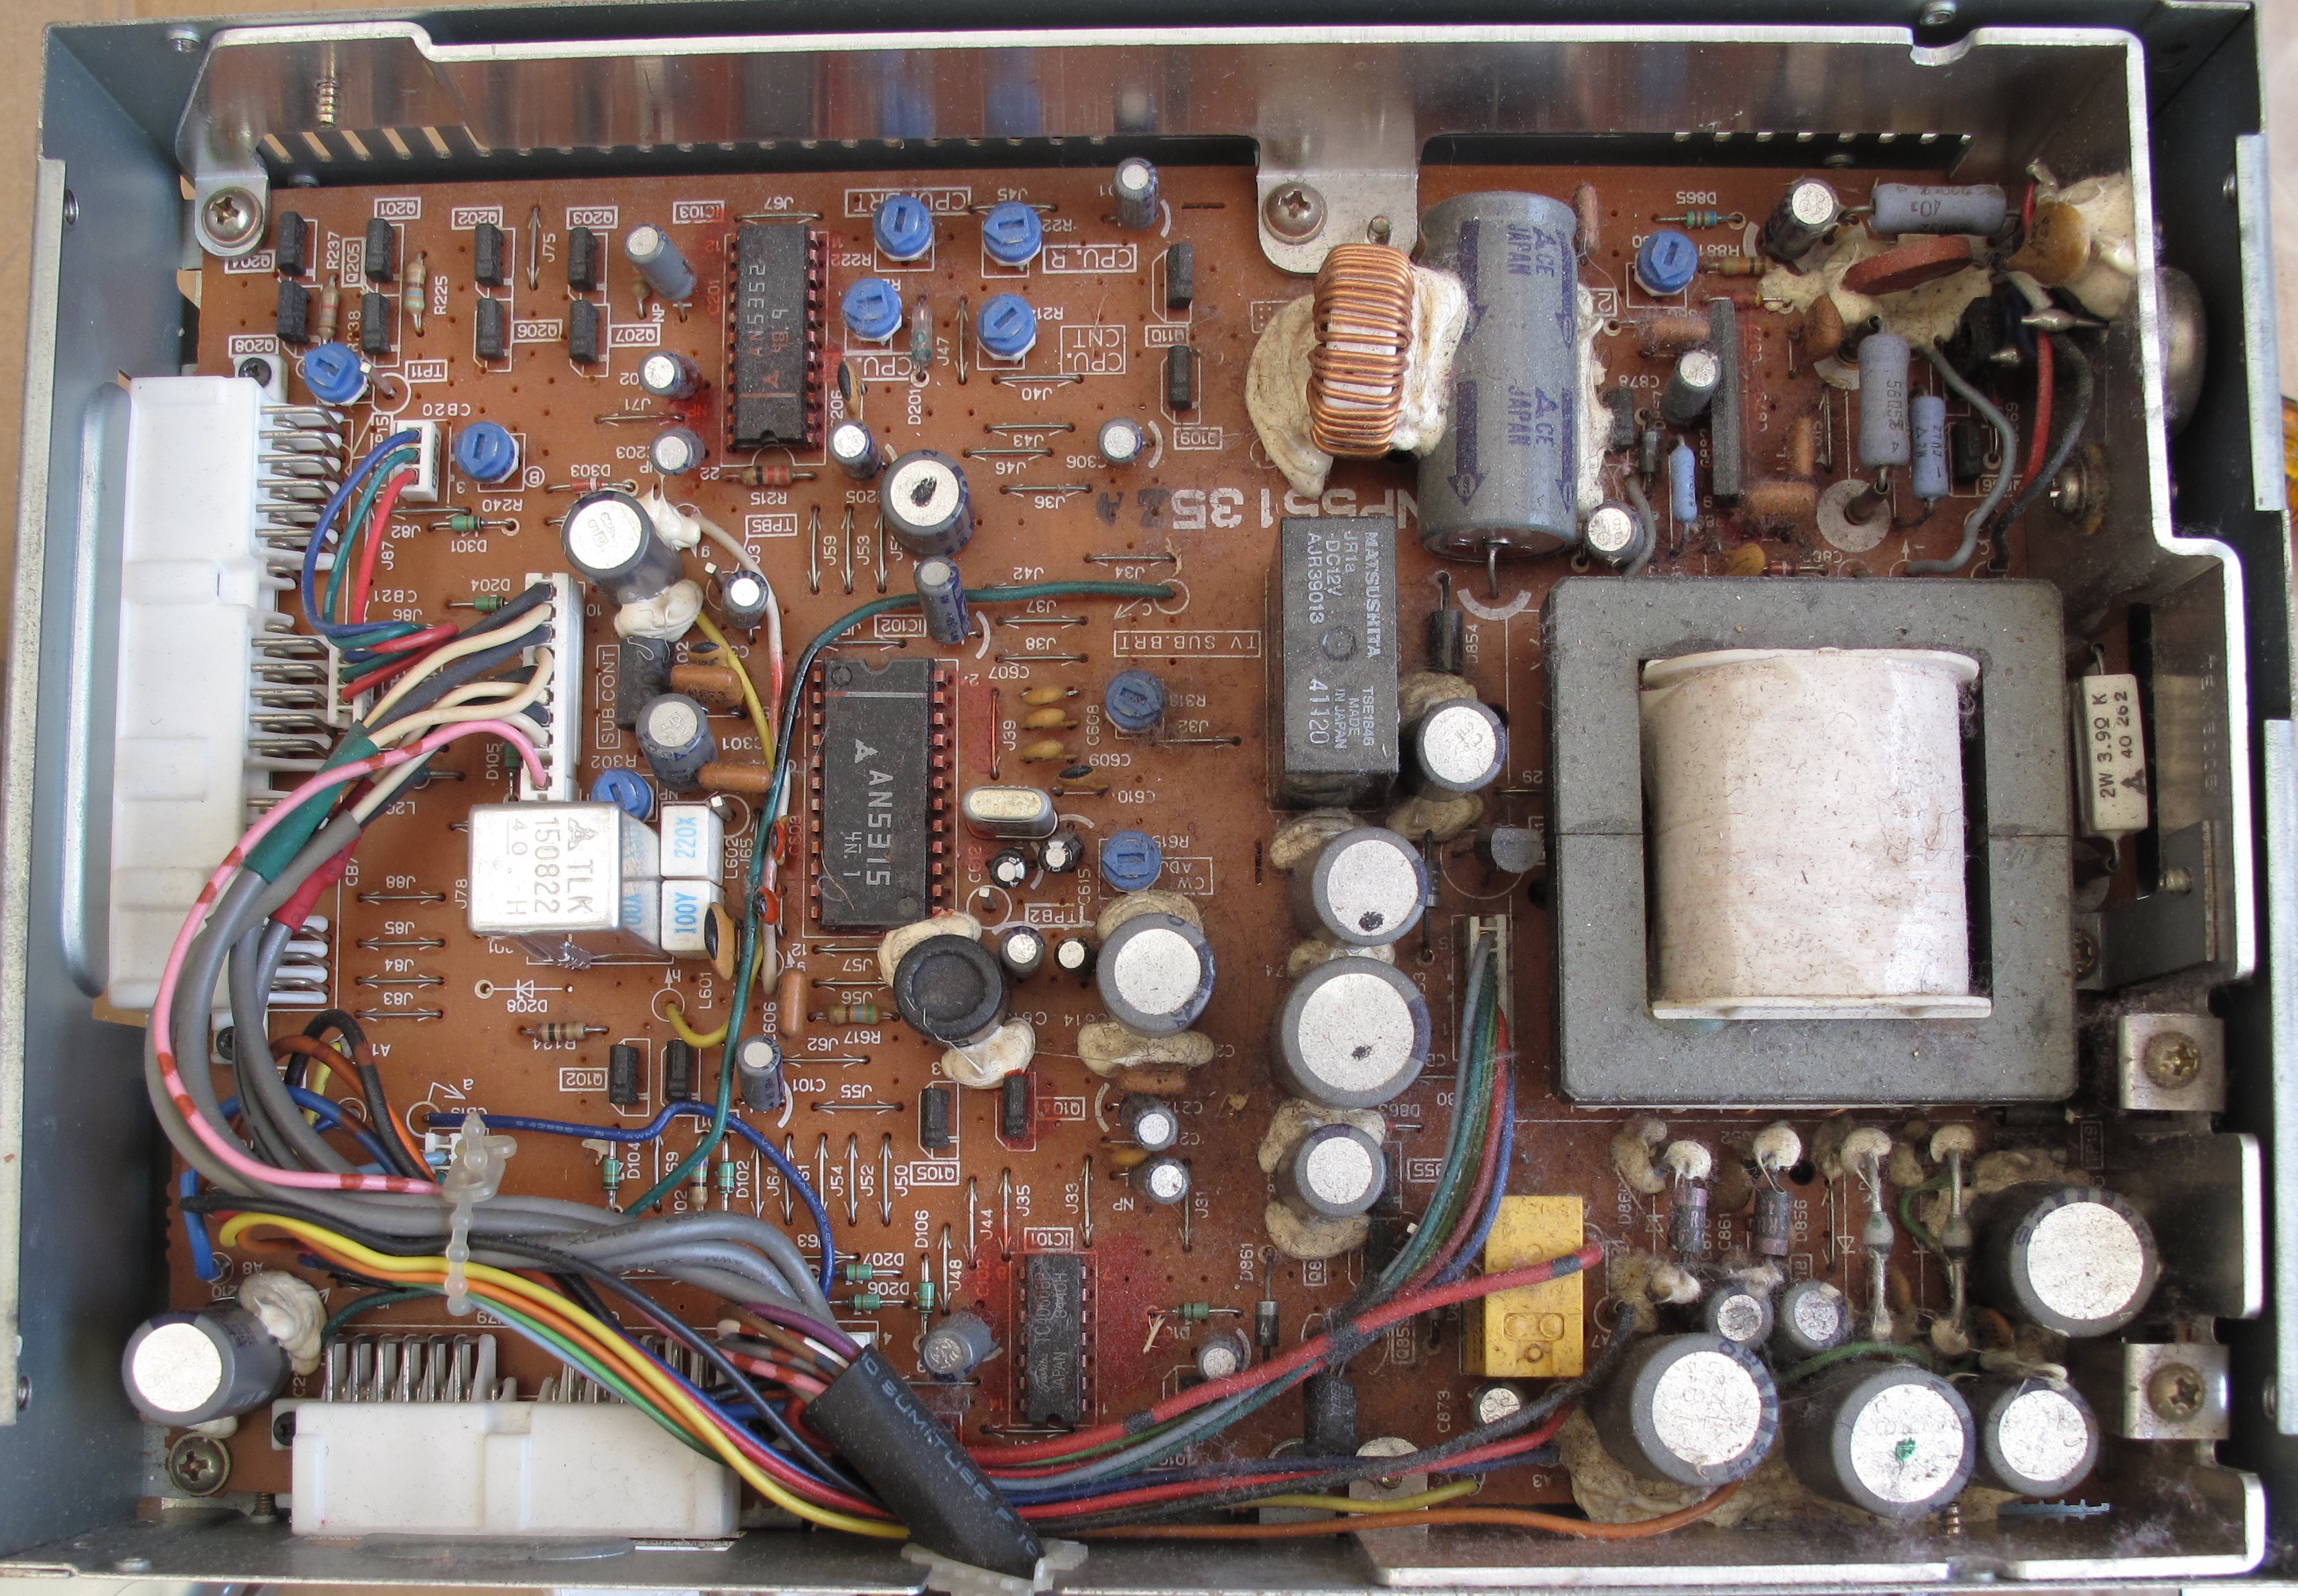
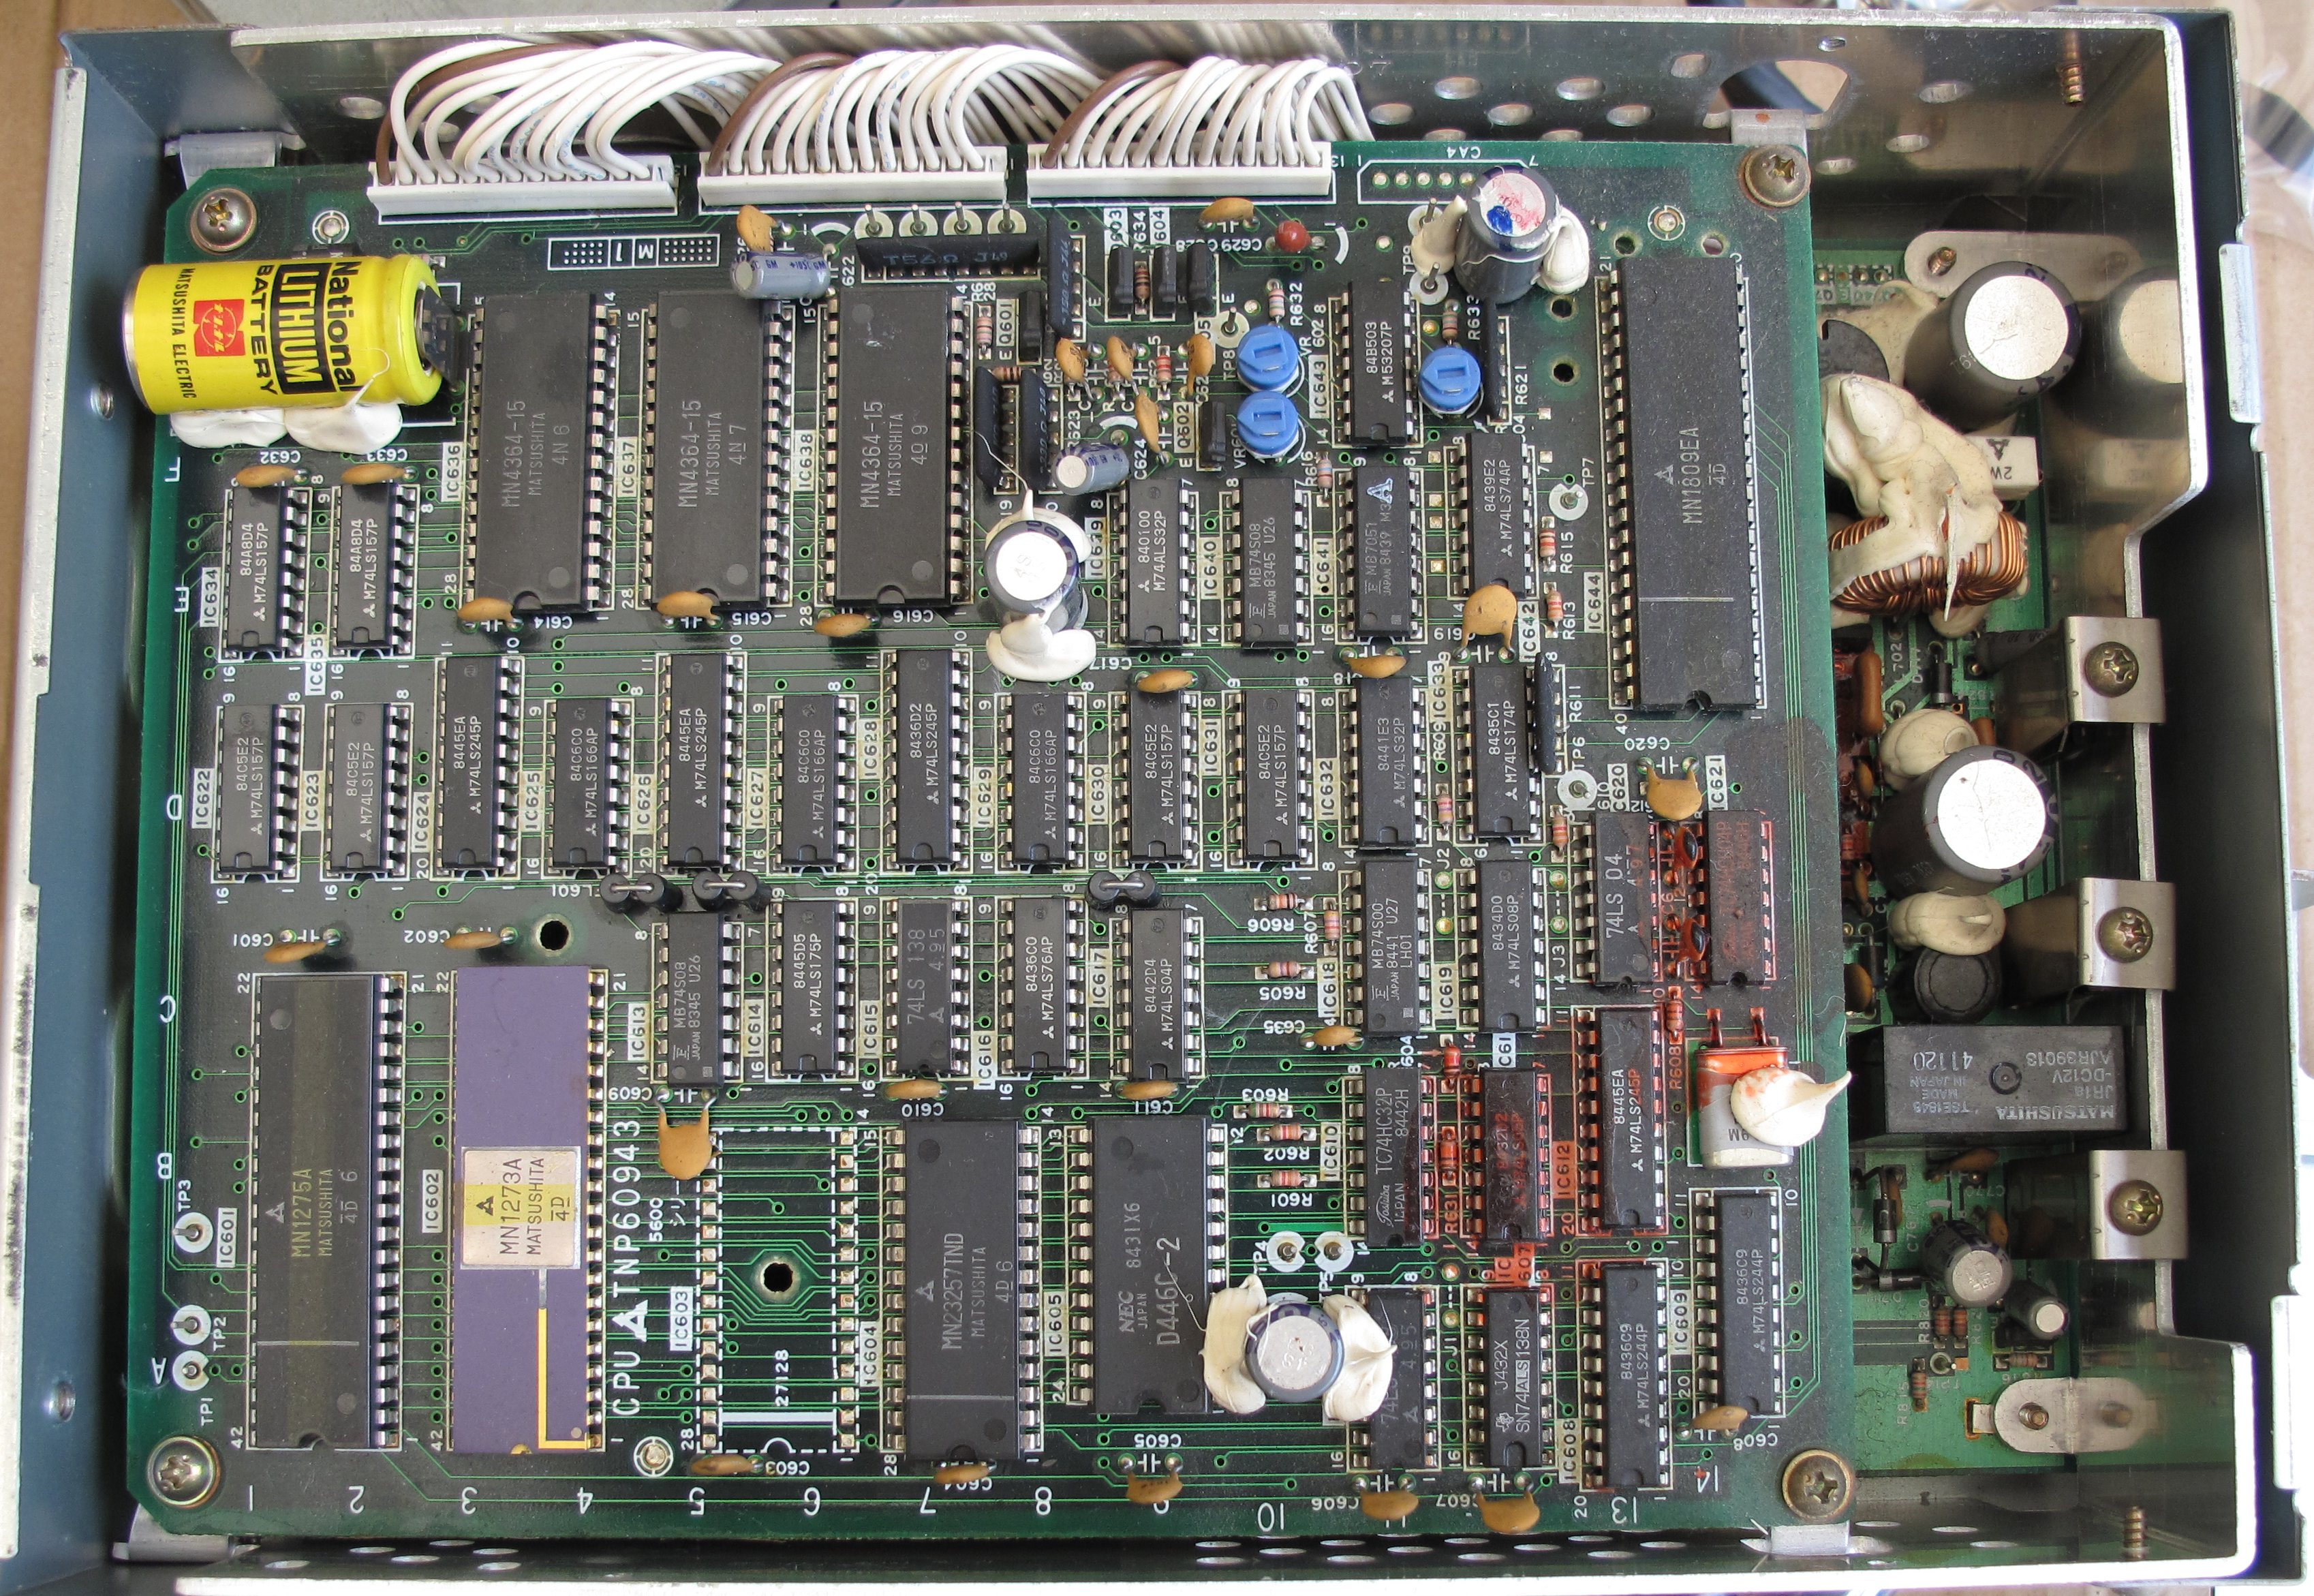
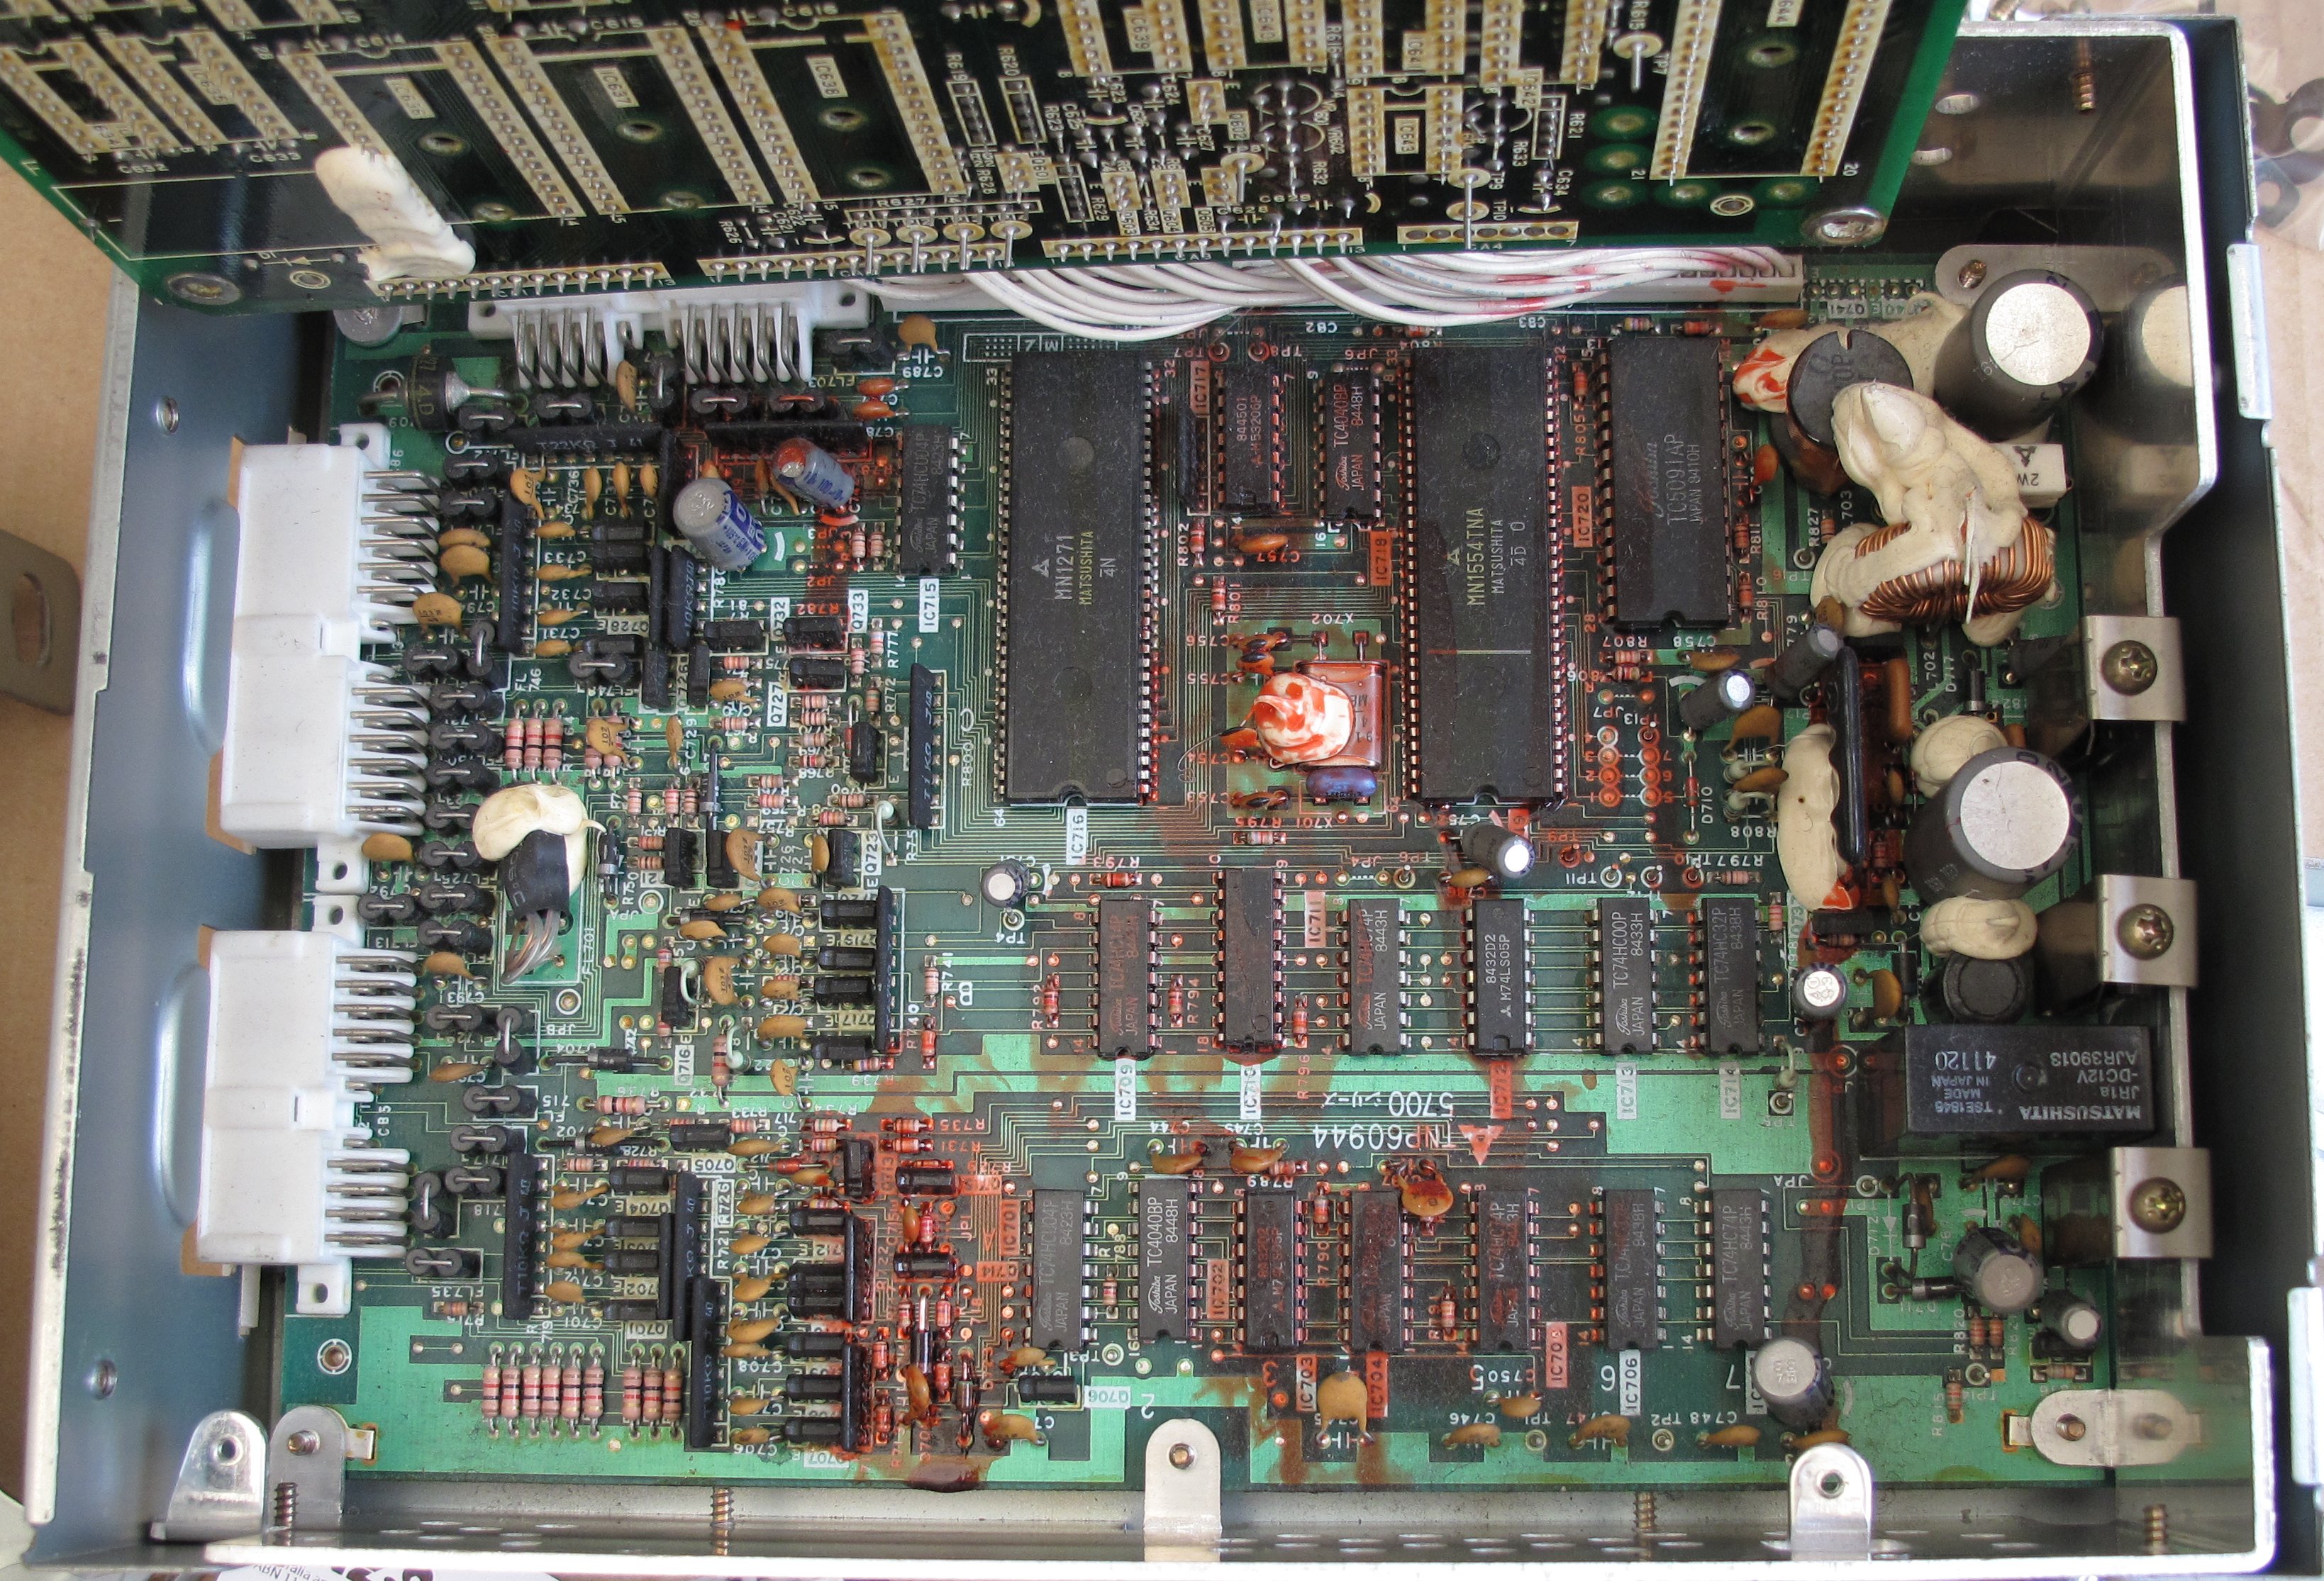
Multivision Computer
The MZ12 Multivision Computer is made up of 3 component boxes
Assembly – Head – Part I
I installed the engine head. Using ARP head studs and nuts.
Assembly – Timing Cover and Oil Pan
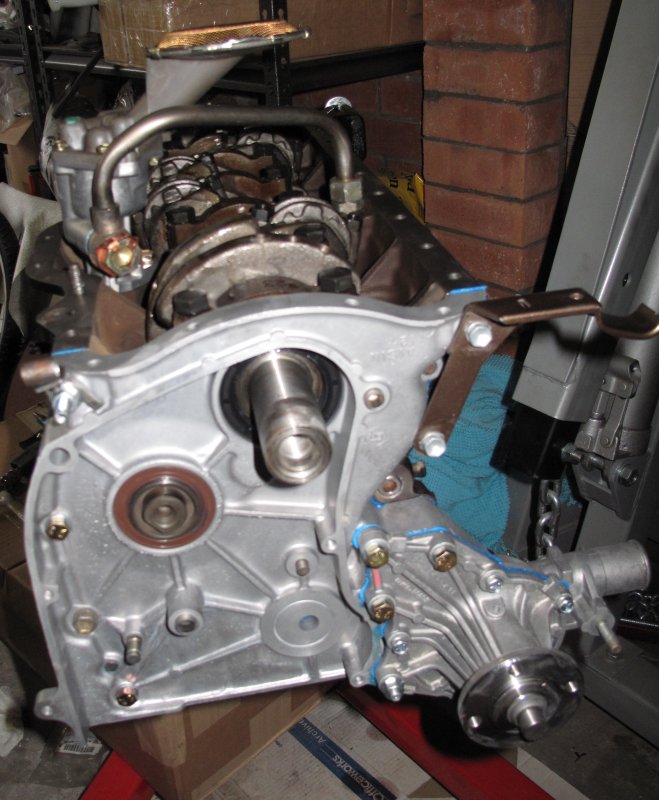
On the 3rd attempt I managed to install the front timing cover with new oil seals. Using the FEL-PRO TCS455181 Kit and 7MGE crankshaft oil seal. I used Hylomar on the gaskets. It’s fiddly stuff but is supposed to work well.
Installed the new oil-pan I had got from Toyota Part in MI, using the Toyota Black FIPG sealant. Here is hoping it keeps the oil in.
Blank Canvas
Pulled off the bonnet and stored it until it is ready to go back on.
A blank canvas.
Assembly – Timing Cover
Cleaned Timing Cover with new water pump, seals and hardware. To installed this weekend hopefully without over-torquing the gasket this time.
Block – Assembly
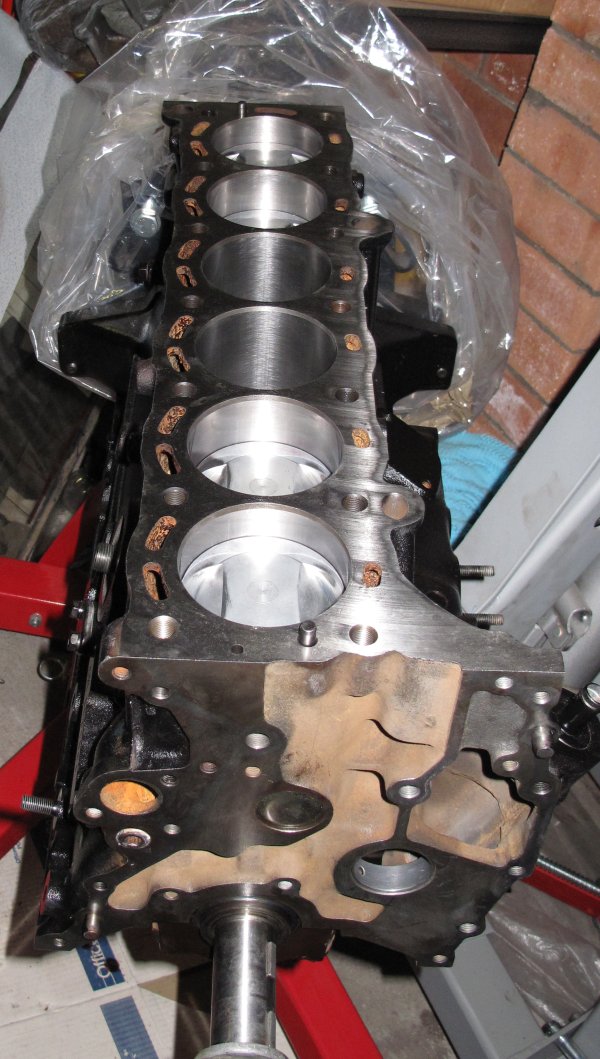
So today I attempted for the second time to assemble the engine block. The first time I tried I broke a piston ring meaning that I had to order a whole new set of the things. The 2 most important things when doing an engine assembly are cleaning (mostly with kerosene) and lubrication.
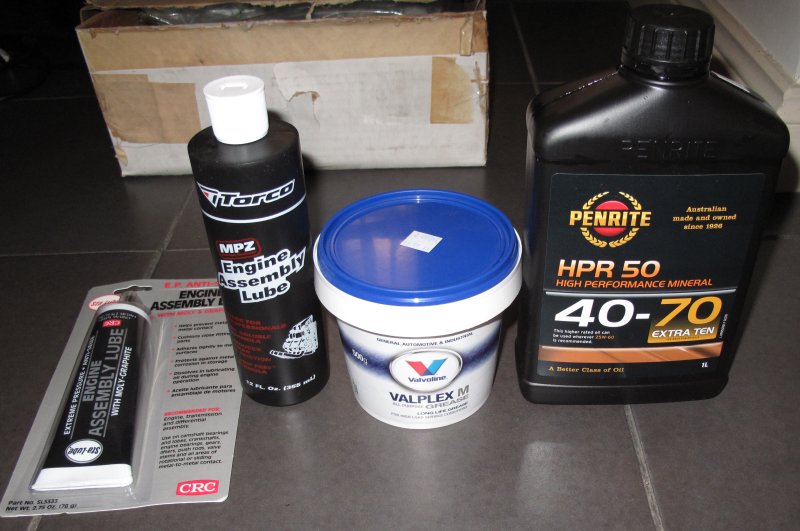
For engine assembly lube I am using Torco MPZ and CRC Sta Lube. For anything that needs oiling I am using Penrite HPR 50 Mineral Oil. And for seating seals I am using Valplex MP Grease.
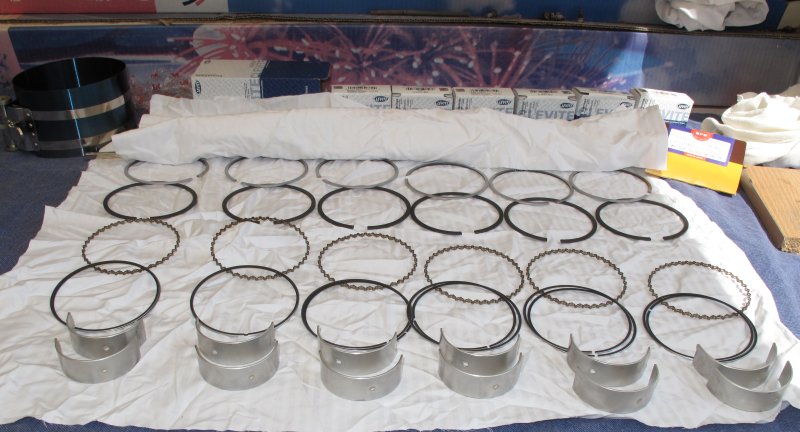
Here are the NPR Piston Rings and Clevite Bearings after they were thoroughly cleaned in Kerosene and then dried off.
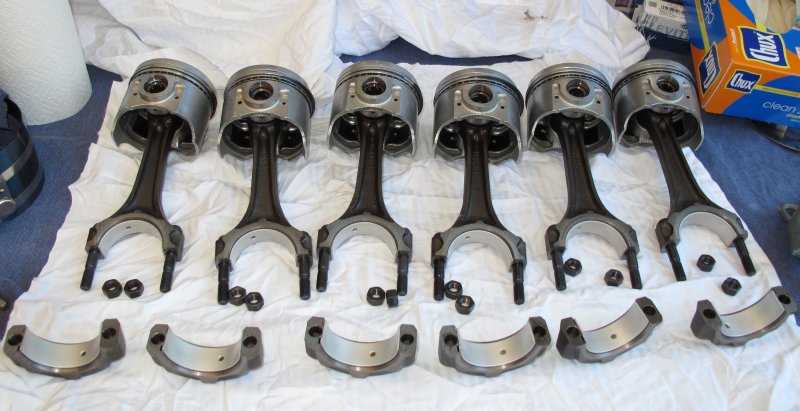
Here are my assembled pistons before they are lubed and inserted into the block
And here is the end result.
From the Panel Shop
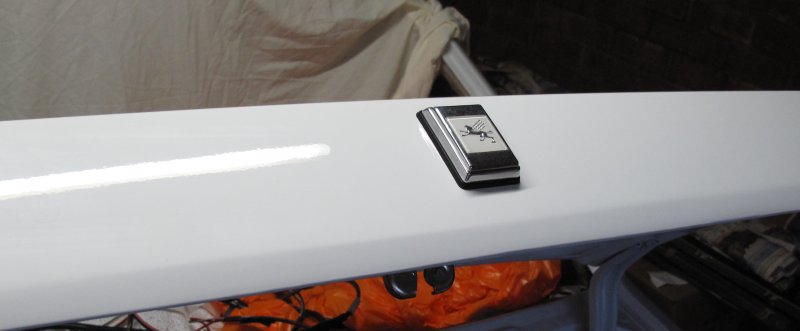
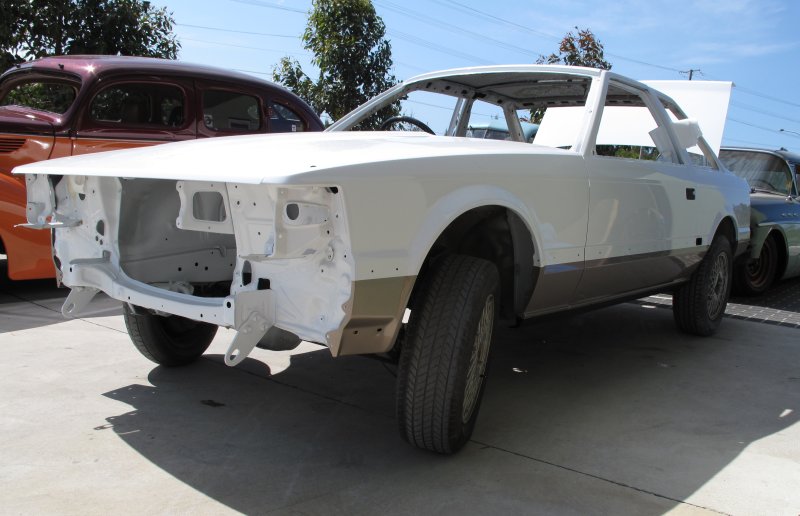
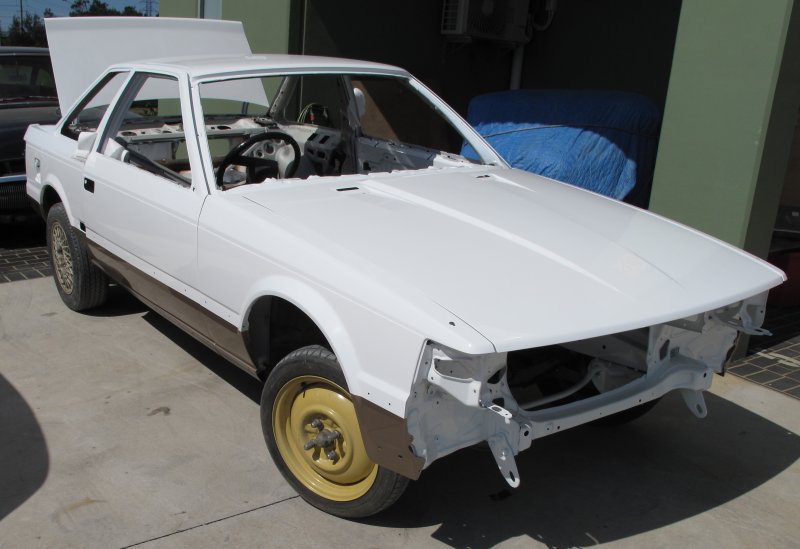
All the panel work and painting is now completed. It is painted two-tone in the Toyota X52 colour scheme. The work was done by Andy’s Restorations. All that needs to be done now is for me to reassemble everything.
Posted in Work
Leave a comment

