Categories
-
Recent Posts
Archives
Tags
Blogroll
Cars
Forums
Info
Parts
Workshops
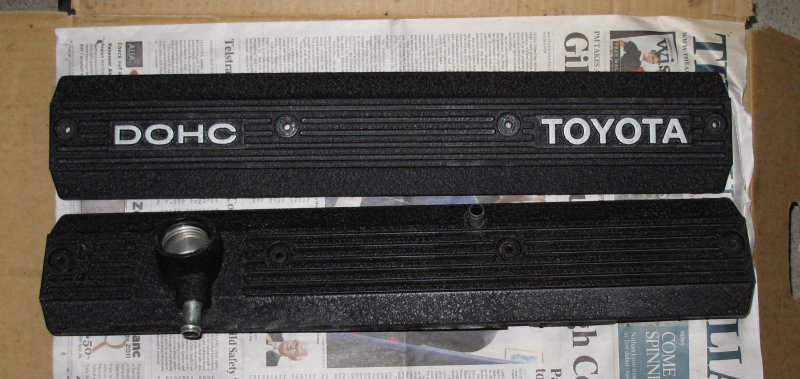
Cam Covers – Painted
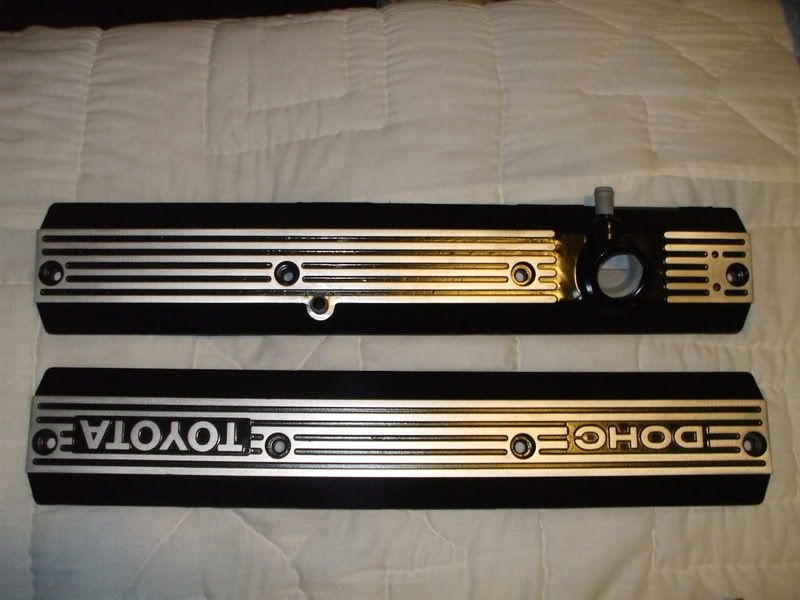
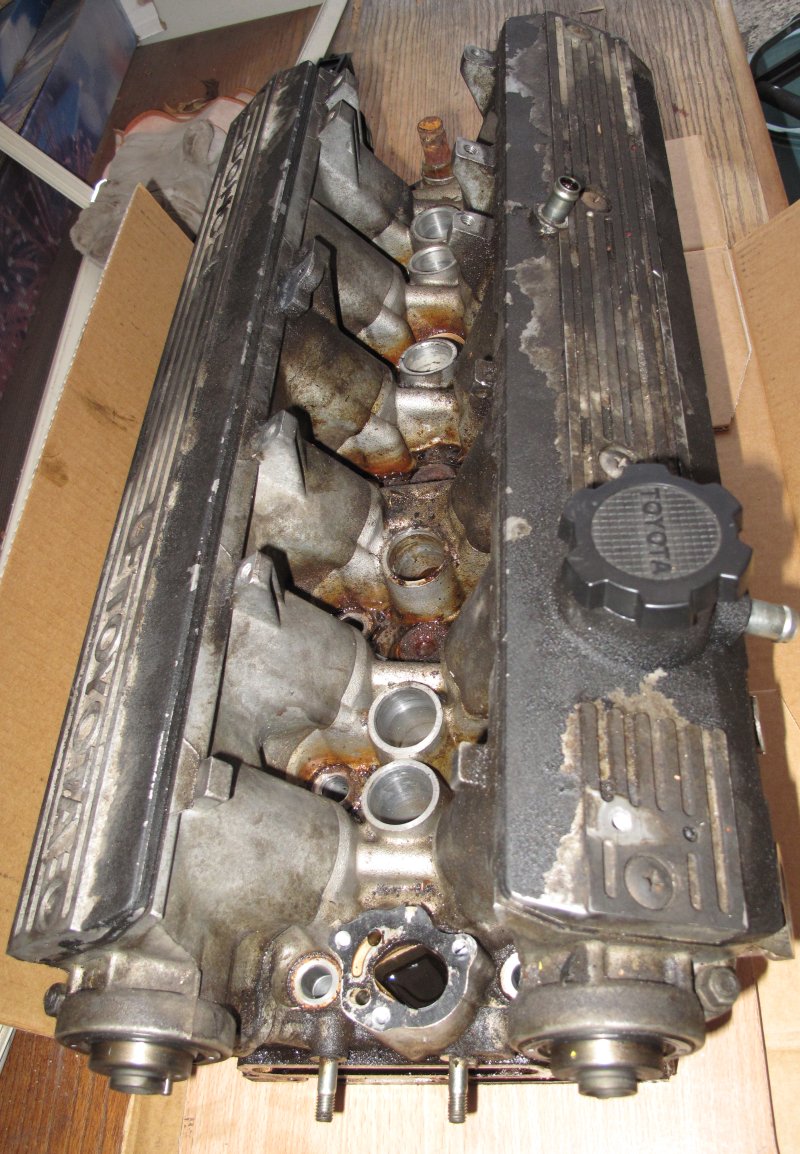
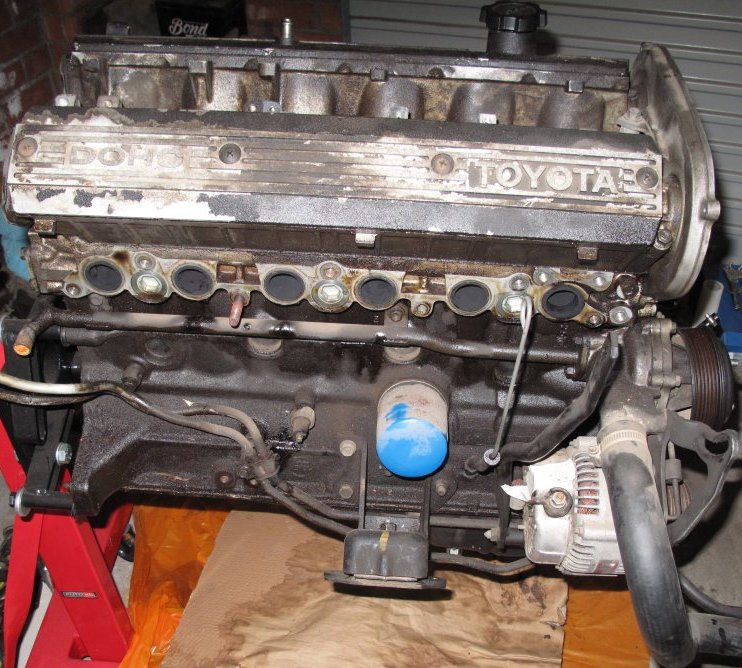
This is the initial result of painting the cam covers. It will need a little touch up to be perfect. First I cleaned the covers with a wire brush and then sanded them down. Then I prep-washed with 3M Wax and Grease Remover. Then I did an under coat of 3M Engine Enamel in Aluminium Colour. Then masked the Toyota and DOHC signs off and painted it in VHT Wrinkle Plus Black. Waited 48 hours and then baked them in a makeshift oven, made of a heat gun and a fruit box.
Colours
Colour Computer
Toyota Paint Codes
Z20 Soarer Paint Codes
Z10 Soarer Paint Codes
Two-Tone Guide
Z10 Paint Codes
Super White 035
Super White Ⅱ 040 – MZ12GT/L
White Soar 033
Canopy Light Green M 6E9
Lessing off Silver M 139
Super Silver M 150 – MZ12GT
Super Red 3D1
Super Red Ⅱ 3E5 – MZ12GT
Moisture Red M 3A3
Flaming Red 391
Plum Dewey M 3A4
Bally Beige 4A8
Pharma segment Blue M 889
Stratos Blue M 896
Stream Toning 2E5
Performance Toning 2M7
Stony Grey Branch 2M5 – MZ12GT
Horizontal Toning 2B2
Toning Quartz Limited 2E6
Limited Pearl Toning 2M6
Toning Limited Future 2U9 – MZ12GTL
| Two Tone | Year | Top Color | Code | Bottom Color | Code |
|---|---|---|---|---|---|
| 2M5 – Orig MZ11 | 81-91 | BEIGE MET | 4D2 | CINNAMON BROWN MET | 4A9 |
| 2U9 – Orig MZ12 | 85 | WHITE PEARL | 042 | LIGHT BEIGE MET | 4E3 |
| X52 – Chosen Colour | 89 | SUPER WHITE II | 040 | MEDIUM BEIGE MET | 4H6 |
So the trick is to find a suitable combination of colours, wich don’t use pearl.
Posted in Information
Leave a comment
At the Panel Shop
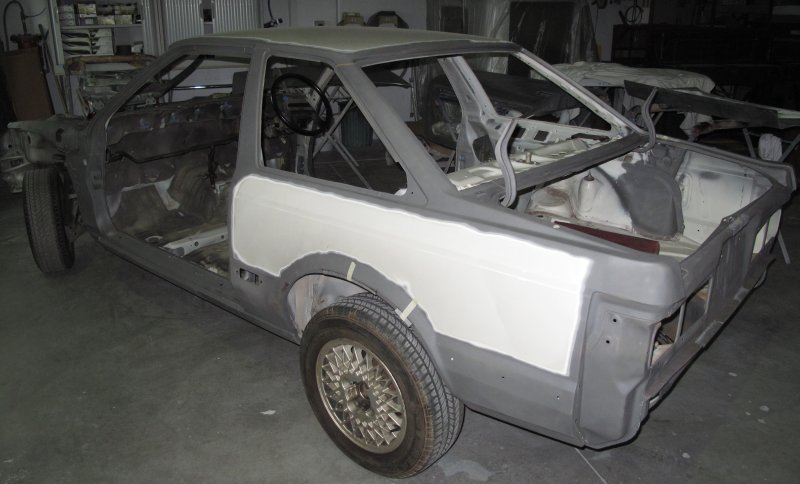
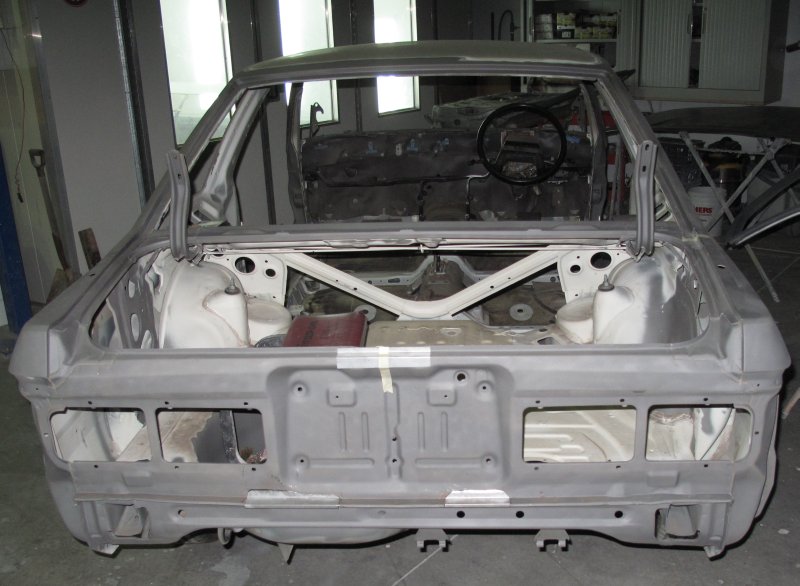
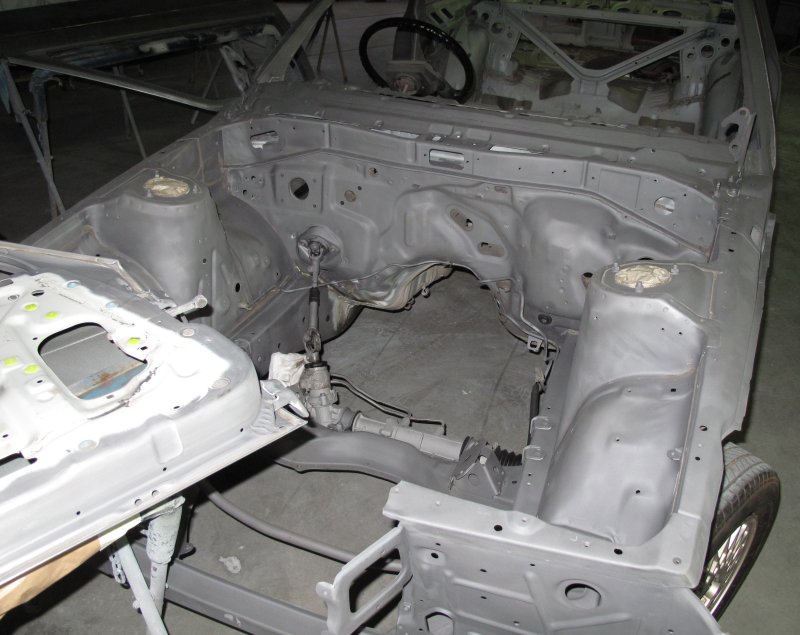
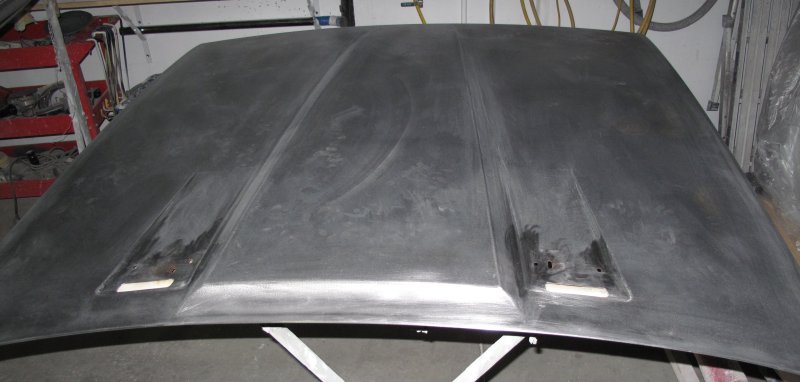
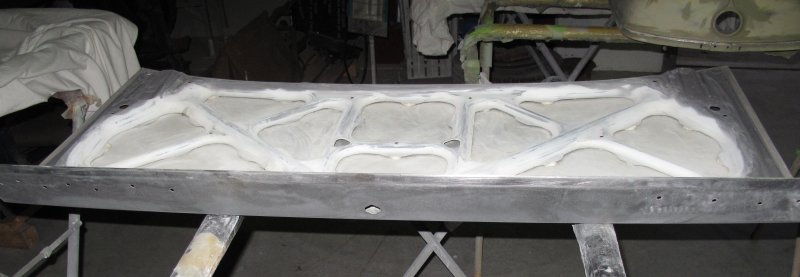
Good progress is being made on the MZ12 at the panel shop. It has now been stripped and is in the process of getting primed, then having any rust cut out and fresh metal welded in place.
6MGE – Reconditioned
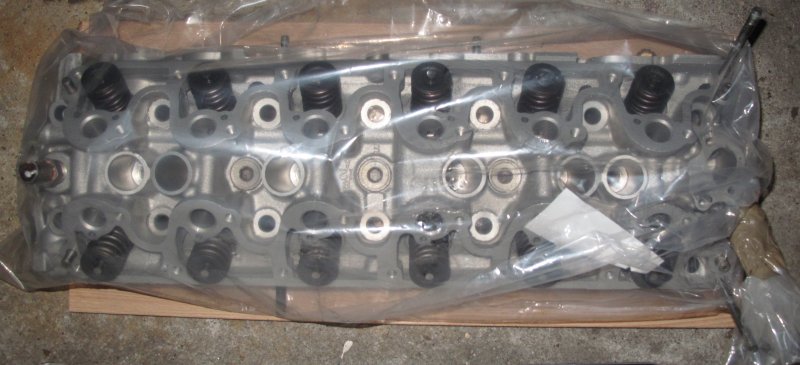
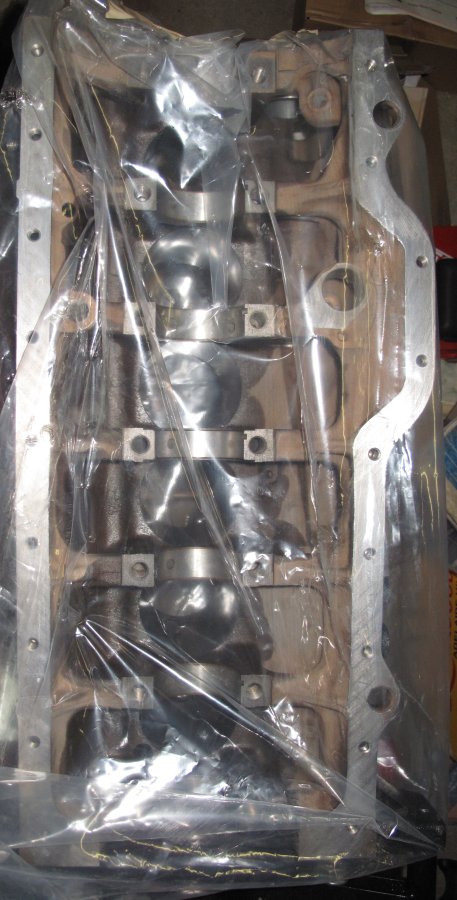
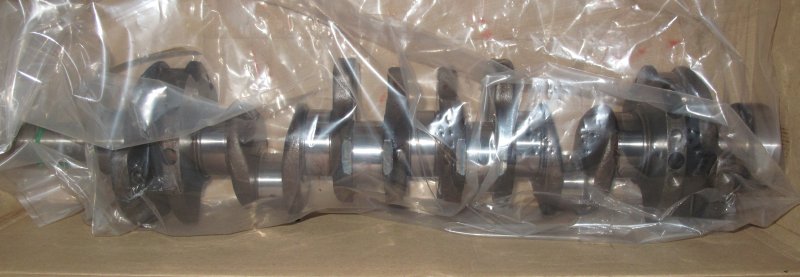
Got the engine back from the engineering shop today. Ready to be unwrapped, cleaned off and reassembled.
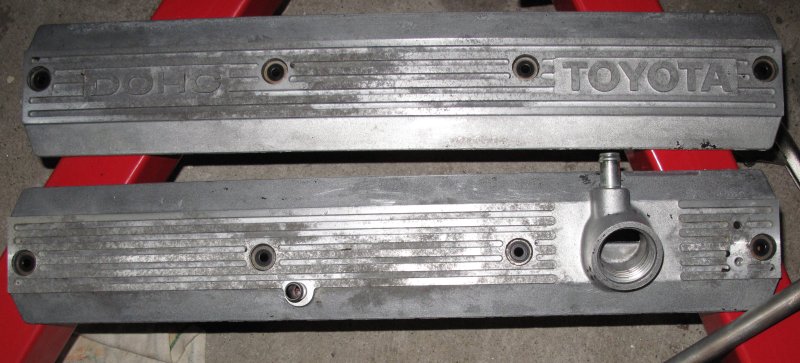
Cam Covers – Cleaned
6MGE Crank Pulley / Harmonic Balancer – Rebuilt
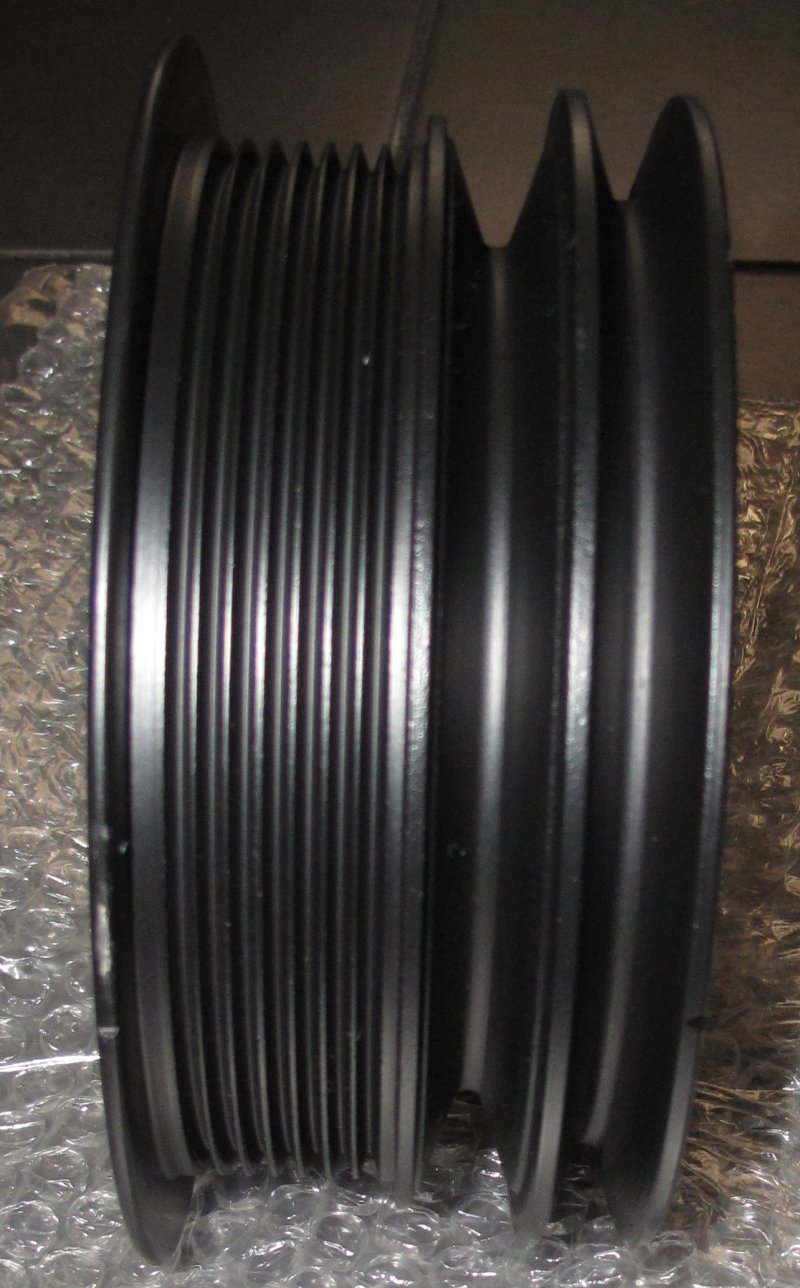
Sent my harmonic balancer to Precision Parts in Wagga Wagga and they rebuilt it for me. Originally it wasn’t looking so great.
Transmission – Disassembly
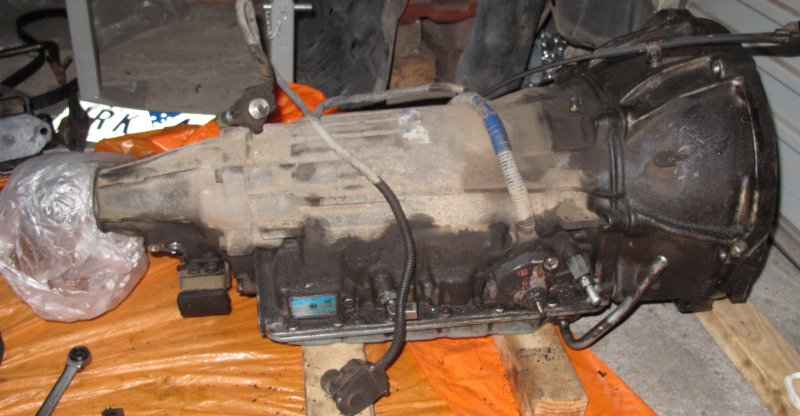
Removed all the electronic components from the automatic transmission before taking it to be rebuilt.
Engine – Disassembly – Part 2
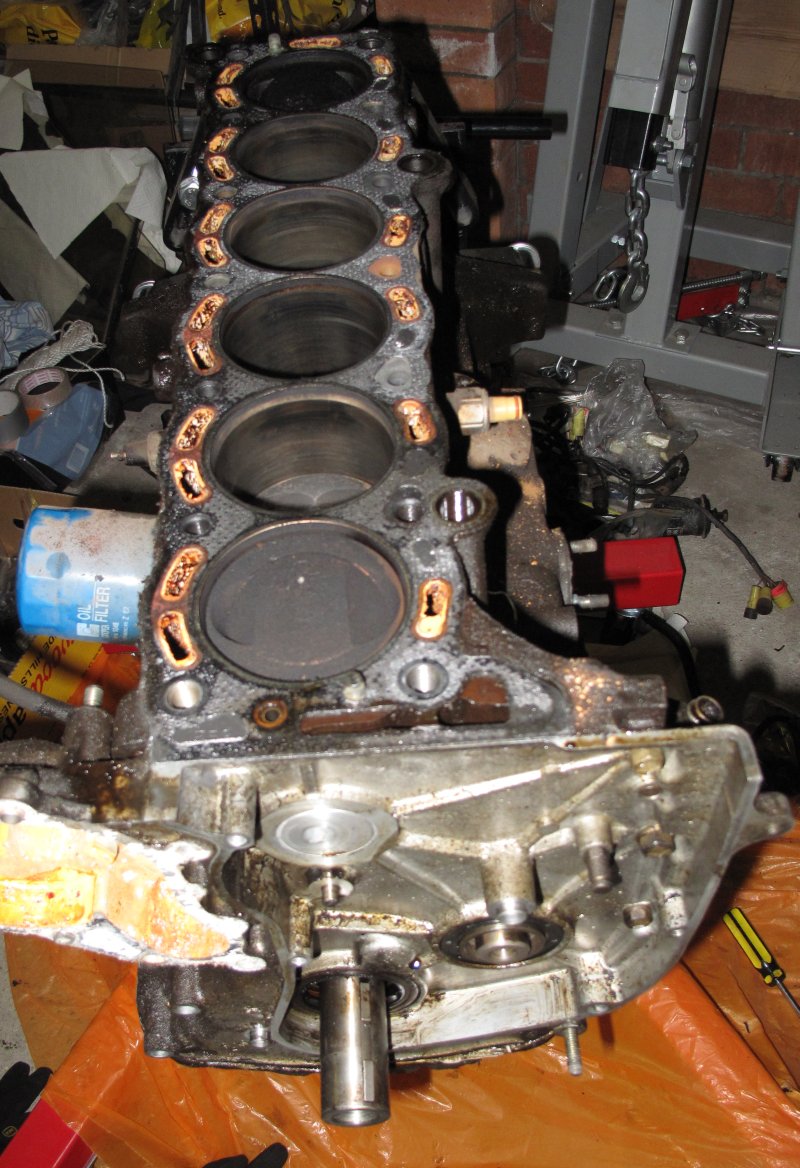
Continued disassembling the engine. Pulled the head off, everything looks good
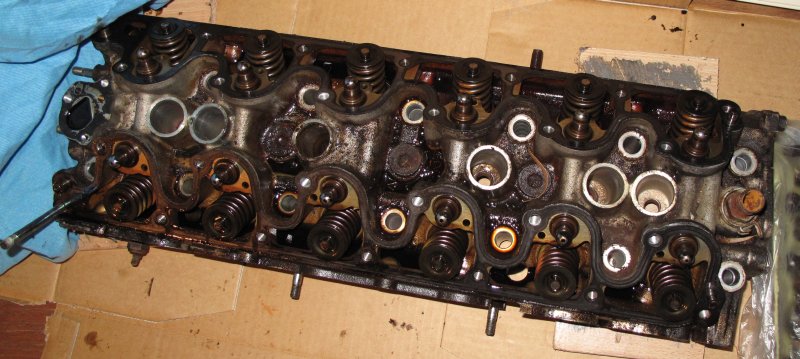
Disassembling the head getting it ready to take to the machinists.
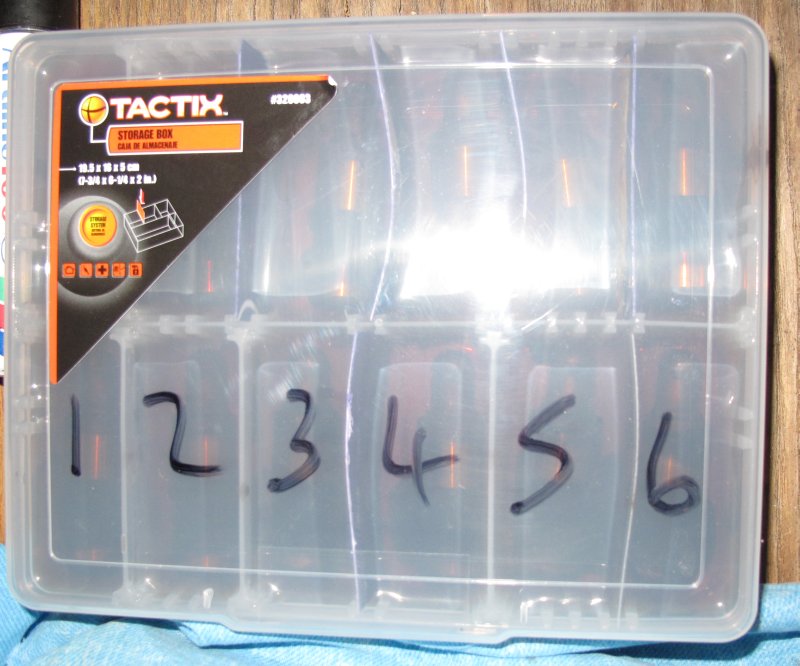
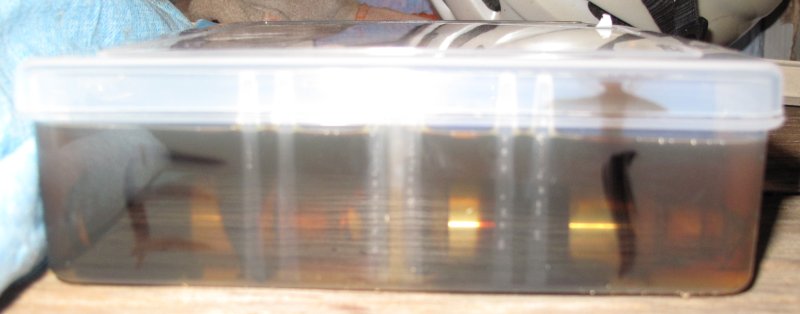
Valve lifters removed and stored in oil.
Engine – Disassembly – Part 1
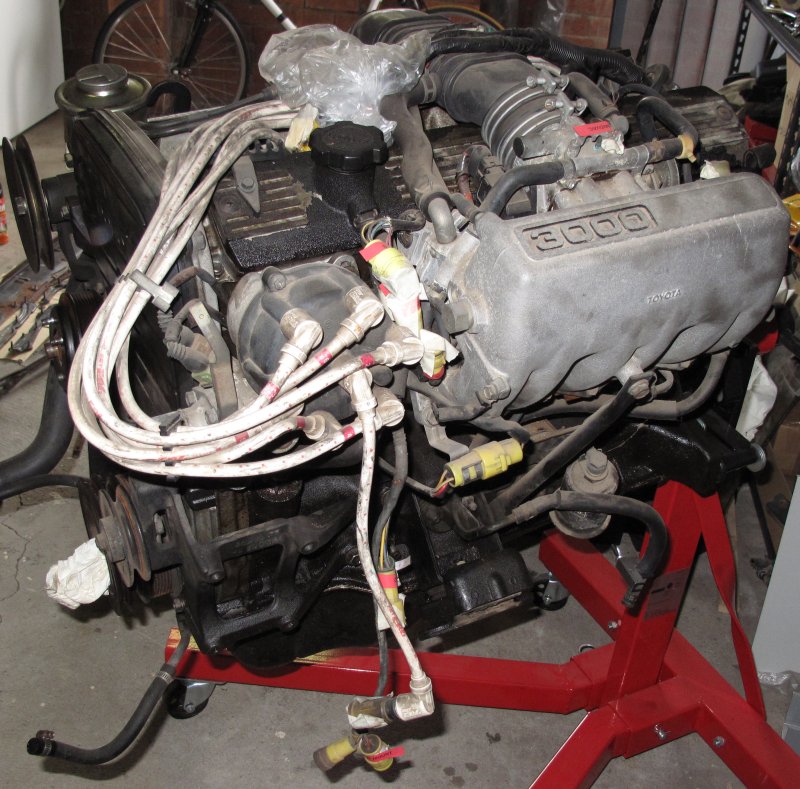
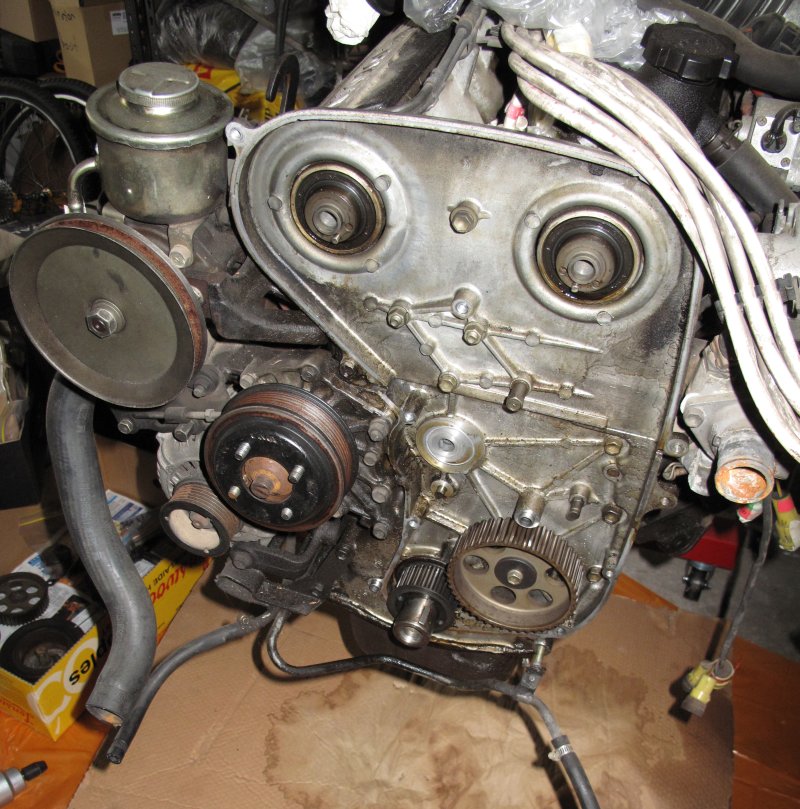
Worked on disassembling the engine today. Got up to the point where the next thing to do is remove the head.
To the Panel Shop
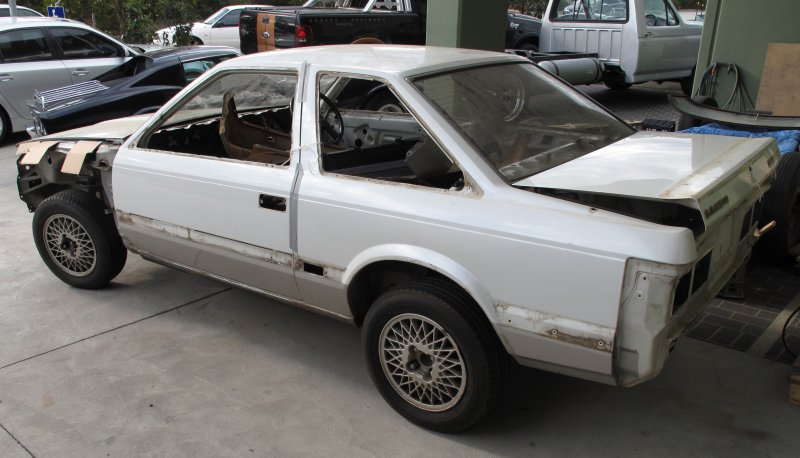
After a year and a half of sitting in my garage the MZ12 was loaded up and taken to the panel shop for body work and a respray. Here it is sitting outside the shop.
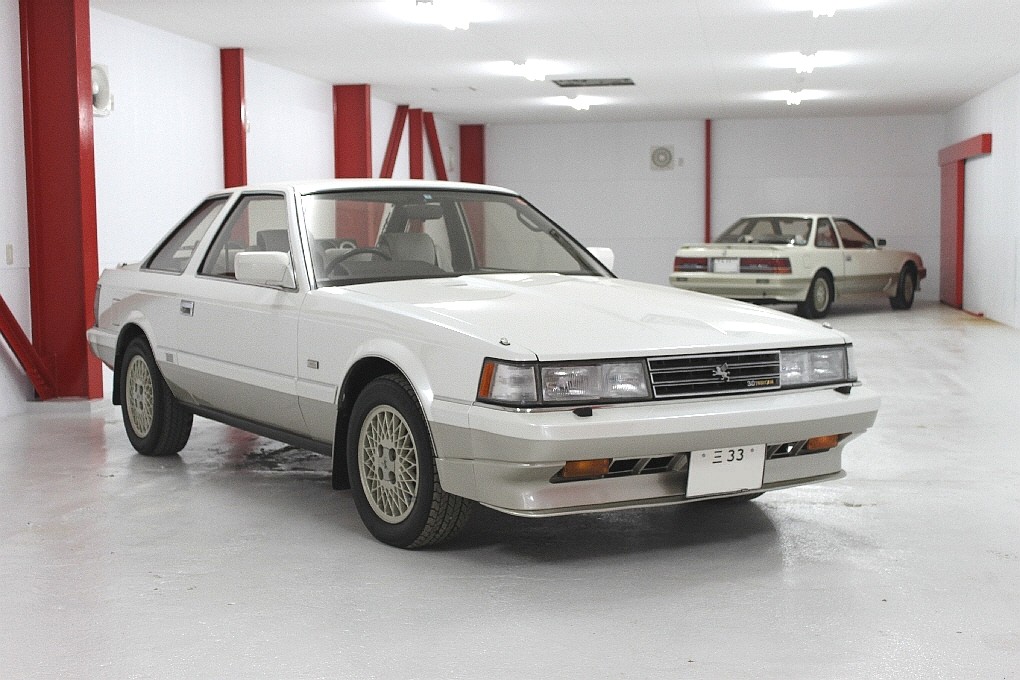
Hopefully it will look something like this when it comes back.

